Introduction: The Benefits of DIY Wood Splitting Tools
Introduction: The Benefits of DIY Wood Splitting Tools
Wood splitting is a common task for those who rely on firewood as a source of heat or use wood for various DIY projects. Having the right tools for efficient wood splitting can be crucial, which is where the concept of do-it-yourself (DIY) wood splitting tools comes into play. In this guide, we will explore the numerous benefits of crafting your own wood splitting tools.
One of the primary advantages of DIY wood splitting tools is cost-effectiveness. Buying premium wood splitting tools from the market can be quite expensive, especially if you have a limited budget. By creating your own tools, you can save a significant amount of money while still achieving the desired functionality. Additionally, DIY wood splitting tools often require readily available materials, making them even more economical to produce.
Customizability is another advantage of DIY wood splitting tools. Every individual has unique preferences when it comes to the design and functionality of their tools. By making your own wood splitting tools, you have the freedom to customize them to suit your specific needs. Whether you want a longer handle, a different width for the axe head, or a personalized grip, DIY projects allow for endless possibilities to tailor your tools to your liking.
Another benefit of DIY wood splitting tools is the satisfaction that comes from creating something with your own hands. Crafting your own tools provides a sense of accomplishment and self-sufficiency. It allows you to take ownership of the entire process, from design to execution, resulting in a deeper connection with the final product. This sense of pride can be a motivating factor in continuing to engage in DIY projects and honing your woodworking skills.
In conclusion, DIY wood splitting tools offer numerous benefits, including cost-effectiveness, customizability, and personal satisfaction. This guide aims to provide you with the necessary knowledge and instructions to embark on your own DIY wood splitting tool projects. By crafting your own tools, you can save money, design them to fit your needs, and experience the joy of creating something with your own hands. Let’s get started on your journey to mastering the art of DIY wood splitting tools!
Safety First: Important Precautions to Take before Starting
Safety should always be a top priority when engaging in any DIY project, especially when it involves making your own wood splitting tools. Before starting, it is crucial to take important precautions to ensure your well-being. First and foremost, wearing appropriate protective gear is essential. This includes safety goggles to protect your eyes from any flying wood chips or debris, as well as ear protection to minimize the risk of hearing damage from the loud noise generated during the wood splitting process.
Additionally, it is crucial to thoroughly inspect and maintain your workspace. Ensure that the area is clean and that there are no tripping hazards, such as loose tools or cables, which could cause accidents. Keep your workbench organized and clutter-free to avoid any mishaps. It is also advisable to secure your workpiece properly, using clamps or other suitable methods, to prevent it from shifting during the splitting process.
Furthermore, familiarize yourself with the safe operation of the tools you will be using. Read the instruction manuals provided by the manufacturers and follow their guidelines strictly. If you are unsure about anything, seek guidance from an experienced DIYer or consult an expert before proceeding. Remember, taking these precautions will not only protect you from injury but also ensure that your wood splitting project is successful.
Gathering Materials: What You’ll Need for Your DIY Project
In “The DIY Guide to Making Your Own Wood Splitting Tools,” gathering the necessary materials is a crucial first step to ensure a successful project. When embarking on a DIY wood splitting tool project, you’ll need a few key items to get started.
First and foremost, you’ll need a solid piece of wood for the handle. Opt for a dense hardwood, such as hickory or ash, which can withstand the force exerted during splitting. It should be long enough to provide leverage but still comfortable to hold.
Next, you’ll require a suitable metal wedge to drive into the wood when assembling the tool. Look for a high-quality steel wedge that fits securely into the handle. Make sure it is sharp and durable to endure repeated impact without bending or breaking.
Additionally, you’ll need a strong epoxy adhesive or wood glue to securely attach the metal wedge to the handle. Choose an adhesive specifically designed for wood and metal bonding to ensure a lasting and reliable connection.
Lastly, don’t forget about safety equipment. When working with tools, always prioritize safety. Ensure you have appropriate eye protection, work gloves, and any other necessary safety gear to prevent accidents or injuries.
By gathering these materials before starting your DIY wood splitting tool project, you’ll be well-equipped to create a durable and effective tool that meets your splitting needs. With the right combination of materials and safety precautions, your DIY project is sure to be a success.
Design Considerations: Choosing the Right Wood Splitting Tool for Your Needs
When it comes to splitting wood, having the right tool is essential for both efficiency and safety. In “The DIY Guide to Making Your Own Wood Splitting Tools,” one of the core topics discussed is design considerations for choosing the right wood splitting tool for your needs.
First and foremost, it’s important to consider the type and size of wood you’ll be splitting. Different tools are designed for different types of wood and sizes. For example, for smaller logs or softwoods, a lighter and more compact tool like a splitting axe or maul may be suitable. On the other hand, for larger logs or hardwoods, a heavy-duty tool like a log splitter may be necessary to get the job done effectively.
Another crucial factor to consider is the user’s physical capabilities and comfort. Wood splitting can be a physically demanding task, so it’s important to choose a tool that the user can handle comfortably. Factors such as weight, handle grip, and balance all contribute to the ease of use and user fatigue. DIY guides often provide instructions on how to customize the tool’s design to fit the user’s specific needs and preferences.
Safety should always be a top priority, especially when working with sharp tools. The design of the wood splitting tool should incorporate safety features such as a secure grip, protective coverings, and proper balance. Additionally, understanding proper technique and using protective gear like gloves and safety goggles are crucial components of safe wood splitting.
By carefully considering these design considerations, DIY enthusiasts can ensure that they select the right wood splitting tool for their needs. The DIY guide provides valuable information and instructions on how to customize or build a wood splitting tool that is effective, comfortable, and safe to use.
Step-by-Step Instructions: Building Your Wood Splitting Axe
If you’re looking to make your own wood splitting tools, building a wood splitting axe is a great place to start. A wood splitting axe is a versatile tool that can make chopping firewood a breeze. With step-by-step instructions, you can easily build your own wood splitting axe at home.
First, gather the necessary materials: a quality axe head, a sturdy wooden handle, epoxy resin, sandpaper, and a file. Begin by preparing the axe head – remove any old handle and clean it thoroughly. Next, choose a wooden handle that is straight, free from defects, and fits the axe head securely.
To attach the handle to the axe head, mix the epoxy resin according to the manufacturer’s instructions. Apply the epoxy resin generously to the axe head and the end of the handle. Insert the handle into the axe head, making sure it is centered and aligned properly. Allow the epoxy to dry and cure completely.
Once the epoxy has dried, use sandpaper to smooth out any rough edges and to shape the handle to your preference. Finish the handle by applying a coat of varnish or wood stain to protect it from the elements. Finally, sharpen the blade of the axe using a file, ensuring that it is sharp enough to split wood effectively.
With your homemade wood splitting axe, you’ll be well-equipped to tackle any firewood chopping needs. Remember to always use proper safety precautions when handling any sharp tools and to maintain your axe regularly for optimal performance. Enjoy the satisfaction of knowing that you built a useful tool with your own hands!
Tips and Tricks: Maximizing Efficiency and Effectiveness
When it comes to making your own wood splitting tools, maximizing efficiency and effectiveness is crucial to ensure the success of your DIY project. Here are a few tips and tricks to help you achieve the best results:
1. Choose the right materials: Selecting high-quality materials is essential to ensure the durability and effectiveness of your wood splitting tools. Opt for sturdy and reliable materials such as hardened steel for axes and wedges, and robust wooden handles for added strength and stability.
2. Proper design and measurements: Before starting your project, carefully plan out the design and measurements of your wood splitting tools. Make sure to consider the size and weight that is suitable for your specific needs, as this will directly impact the efficiency and effectiveness of your tools.
3. Balance and weight distribution: Pay attention to the balance and weight distribution of your wood splitting tools. Aim for a balanced design that allows for controlled swings and proper splitting force. This will not only enhance your efficiency but also reduce the risk of accidents and injuries.
4. Sharpening and maintenance: Regularly sharpening your wood splitting tools is crucial for maintaining their effectiveness. Use proper sharpening techniques and invest in a sharpening tool or stone to keep the edge sharp and efficient. Additionally, make sure to clean and oil your tools after use to prevent rust and maintain their longevity.
By following these tips and tricks, you can maximize the efficiency and effectiveness of your DIY wood splitting tools. With a well-designed and properly maintained tool, you’ll be able to split wood more efficiently, saving time and effort in the process.
Maintaining Your DIY Wood Splitting Tools: A Guide to Long-term Use
‘Maintaining Your DIY Wood Splitting Tools: A Guide to Long-term Use’ is a crucial chapter in The DIY Guide to Making Your Own Wood Splitting Tools. Wood splitting tools, such as axes, mauls, and wedges, are essential for any DIY enthusiast or woodworker. However, it is important to understand the importance of regular maintenance to ensure their longevity and efficient performance.
This chapter delves into the various techniques and practices necessary for keeping your DIY wood splitting tools in pristine condition. It covers essential topics like sharpening the blade, lubrication, rust prevention, and storage. The guide explores different methods, providing step-by-step instructions and helpful tips to ensure that your tools remain sharp, reliable, and safe to use.
By understanding and implementing the maintenance techniques outlined in this chapter, DIY enthusiasts can prolong the lifespan of their wood splitting tools, saving them time, money, and the hassle of constant replacement. The guide emphasizes the importance of preventative care and offers practical advice to mitigate common issues such as blade dullness, handle damage, or rusting. From proper storage practices to periodic inspections, this chapter covers all the necessary steps needed to maintain DIY wood splitting tools for long-term use.
In conclusion, ‘Maintaining Your DIY Wood Splitting Tools: A Guide to Long-term Use’ is an essential resource for DIY enthusiasts and woodworkers who are looking to make their own wood splitting tools. By providing comprehensive instructions and helpful tips, this chapter ensures that readers can maximize the lifespan and efficiency of their tools, allowing for uninterrupted wood splitting projects and successful DIY endeavors.
Upcycling Opportunities: Repurposing Materials for a Unique Wood Splitting Tool
In The DIY Guide to Making Your Own Wood Splitting Tools, one of the key highlights is the concept of upcycling materials to create a unique wood splitting tool. Upcycling, also known as creative reuse, involves taking unwanted or discarded items and transforming them into something useful and valuable. This approach not only saves money but also contributes to reducing waste and promoting sustainable practices.
The book explores various upcycling opportunities for repurposing materials into a wood splitting tool. For instance, old axe heads can be salvaged and attached to a new wooden handle, creating a bespoke tool that combines both history and functionality. By refurbishing and repurposing discarded axe heads, DIY enthusiasts can breathe new life into these tools while preserving their vintage charm.
Another upcycling opportunity highlighted in the book is the use of reclaimed steel. Old car leaf springs, for example, can be forged and shaped into durable, high-quality wood splitting wedges. These wedges not only withstand the heavy impact of splitting logs but also offer a unique aesthetic appeal as they are crafted from repurposed materials.
Overall, The DIY Guide to Making Your Own Wood Splitting Tools emphasizes the creative potential of upcycling materials, allowing readers to not only save money but also engage in eco-friendly practices. By repurposing old axe heads or reclaiming steel, DIY enthusiasts can create their own wood splitting tools that are not only functional but also possess a unique character and story.
Alternatives to Wood Splitting Axes: Exploring Other DIY Options
‘Alternatives to Wood Splitting Axes: Exploring Other DIY Options’ delves into the realm of DIY woodworking by presenting a variety of alternatives to traditional wood splitting axes. This comprehensive guide considers the needs and preferences of DIY enthusiasts who may not have access to or desire conventional tools.
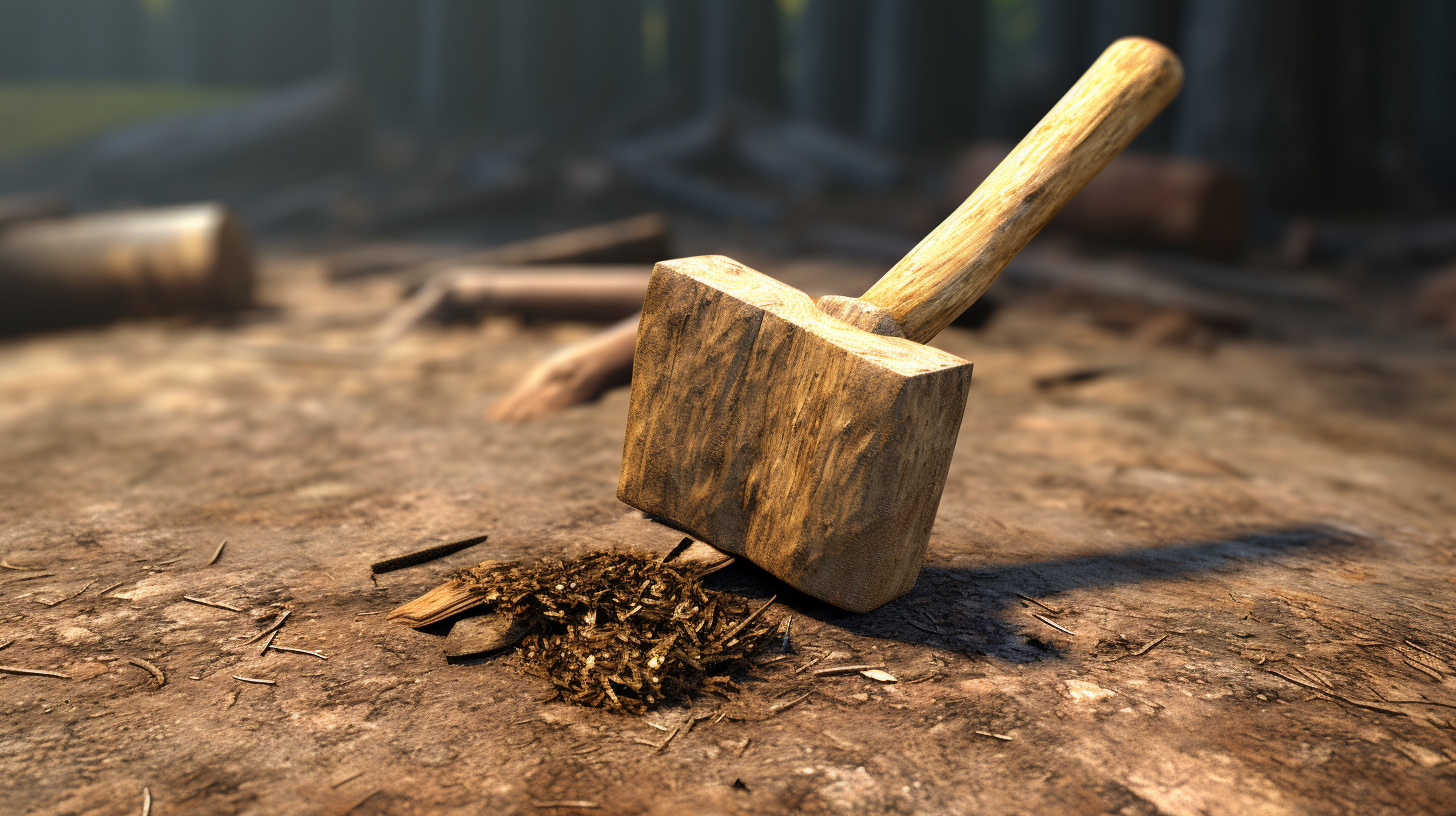
The DIY Guide to Making Your Own Wood Splitting Tools suggests several inventive solutions for those on a budget or seeking a creative challenge. One option explored is the homemade wooden maul, which offers a cost-effective and customizable alternative to steel axes. By repurposing a sledgehammer head and constructing a handle from a sturdy wooden log, individuals can craft a maul suited to their specific requirements.
Another alternative presented in the guide is the technique of using a wedge and mallet to split wood. This method requires minimal tools and can be easily accomplished with a few basic materials. By positioning a wooden or metal wedge into a log and driving it with a mallet, individuals can efficiently split wood without the need for a dedicated splitting axe. This option is particularly useful in situations where space and storage are limited.
Overall, ‘Alternatives to Wood Splitting Axes: Exploring Other DIY Options’ offers creative and practical alternatives for DIY enthusiasts seeking to split wood without conventional tools. The guide encourages individuals to embrace the spirit of resourcefulness and experimentation by showcasing unique and cost-effective solutions. Whether it’s crafting a homemade wooden maul or utilizing the wedge and mallet technique, this DIY guide provides a wealth of options for those looking to tackle wood splitting projects with ingenuity and innovation.
Frequently Asked Questions: Answering Common Queries about DIY Wood Splitting Tools
“Frequently Asked Questions: Answering Common Queries about DIY Wood Splitting Tools” is a section in The DIY Guide to Making Your Own Wood Splitting Tools. This section aims to provide answers to some of the most commonly asked questions by DIY enthusiasts who are interested in building their own wood splitting tools.
The FAQ section begins by addressing the importance of safety when working with wood splitting tools. It provides guidance on the necessary safety equipment and precautions that should be taken to avoid accidents and injuries while using these tools. The section also includes information on the different types of wood splitting tools that can be built, such as splitting mauls, log splitters, and wedges.
Another frequently asked question that this section answers is about the materials and tools needed for building wood splitting tools. It provides detailed lists of the required materials, such as high-quality steel for the blade, durable wood for the handle, and strong adhesive to join the different components. Additionally, it suggests the necessary tools, such as a drill, saw, and file, that one should have in their DIY toolkit for building these tools.
Lastly, the FAQ section addresses common concerns related to the usability and effectiveness of DIY wood splitting tools. It clarifies doubts about the efficiency of homemade tools compared to store-bought ones, and offers tips on how to ensure maximum effectiveness when using these tools. It also provides troubleshooting advice for common issues that DIYers may encounter during the construction or use of their wood splitting tools.
Overall, the FAQ section of The DIY Guide to Making Your Own Wood Splitting Tools serves as a comprehensive resource for DIY enthusiasts looking to build their own wood splitting tools. It offers valuable information and guidance, ensuring that readers can confidently embark on their DIY projects and enjoy the benefits of having custom-made tools for splitting wood.
Conclusion: Empowering Yourself with DIY Wood Splitting Tools
In the conclusion of “The DIY Guide to Making Your Own Wood Splitting Tools,” the focus shifts to the empowering nature of creating and using DIY wood splitting tools. The author emphasizes that by making their own tools, individuals can take control of their wood splitting process, save money, and customize their tools to suit their unique needs.
The empowerment comes from the sense of accomplishment and self-sufficiency that comes with creating something with one’s own hands. DIY wood splitting tools allow individuals to take charge of their wood cutting tasks, reducing reliance on expensive commercial tools or professional services. This not only saves money but also instills a sense of independence in the DIY enthusiast.
Moreover, creating DIY wood splitting tools offers an opportunity for customization. Different types of wood and individual techniques may require specific tool features or modifications. By making your own tools, you can tailor them to your preferences, ensuring that they work best for you. This level of personalization enhances efficiency and effectiveness while splitting wood.
Ultimately, the conclusion reinforces the idea that learning to make your own wood splitting tools is a valuable skill that empowers individuals to take control of their wood splitting needs, saves money, and allows for customization. With a DIY mindset and the proper tools, anyone can embark on this rewarding journey of crafting their own wood splitting tools.
Leave a Reply